Event graphs
An event graph holds events: places where your class starts running a chain of nodes. Each event starts at an entry node, and each entry becomes one method of the generated class. This page shows how to add an event graph, rename it, add entries to it, give a custom event arguments and override a method of the base class. The screenshots use the default dark theme and the HelloWorld sample.
Add an event graph
Select the class in the Project panel and choose Edit › Add event graph. A new graph called EventGraph is added
under the class's Event graphs group and opens in its own tab. It starts empty.
Right-click the canvas to open the node search. In an event graph it offers the two kinds of entry:
- Custom Event, an event of your own;
- Override followed by the name of a method of the base class, such as Override ToString.
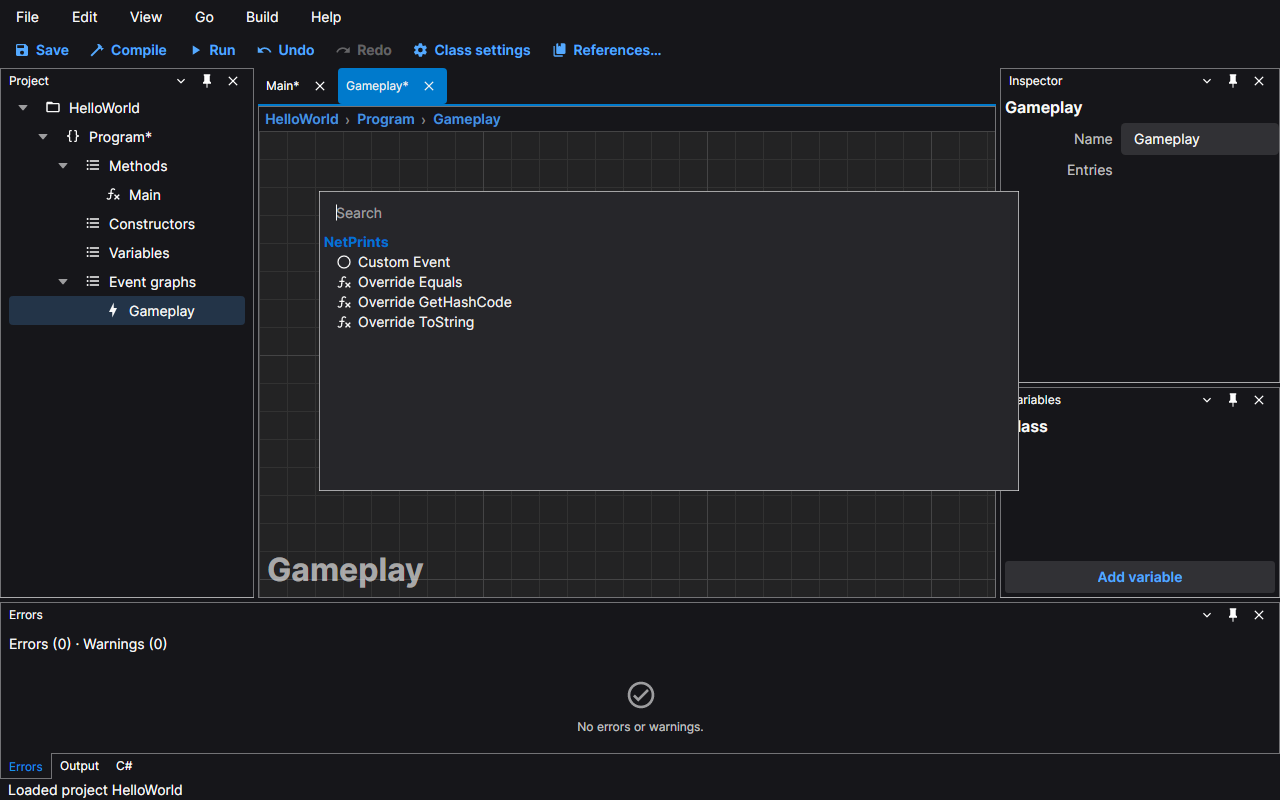
Choose one and its entry node is placed where you clicked. A graph can hold several entries.
Rename an event graph
An event graph's name is a label for you. It is not a member of the generated class, so it never appears in the generated C#; each entry names its own method.
To rename it in place, select its row in the Project panel and press F2 (or choose Edit › Rename). The row becomes a text box: type the new name and press Enter, or press Esc to keep the old one.
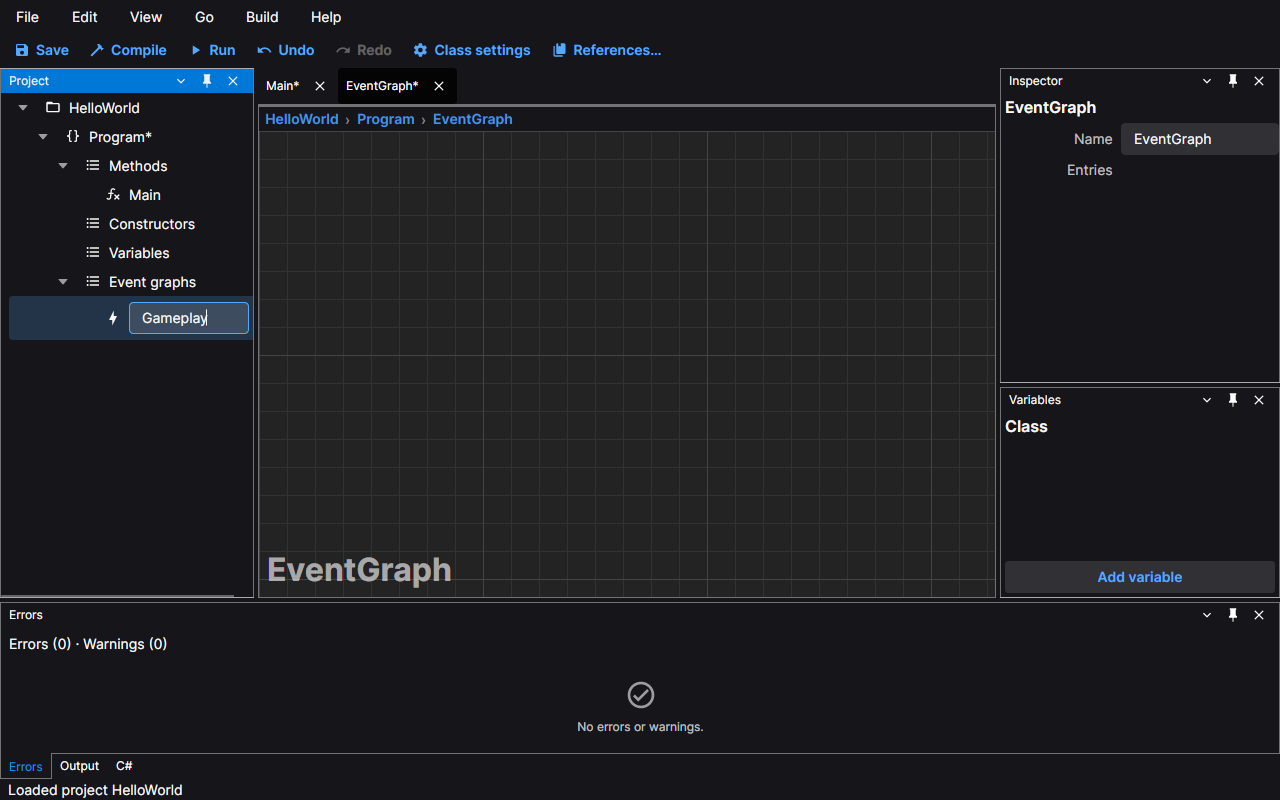
You can also select the graph in the Project panel and change the Name box in the Inspector. The tab and the breadcrumbs show the new name at once, and each rename is one step of Undo.
The Inspector for an event graph
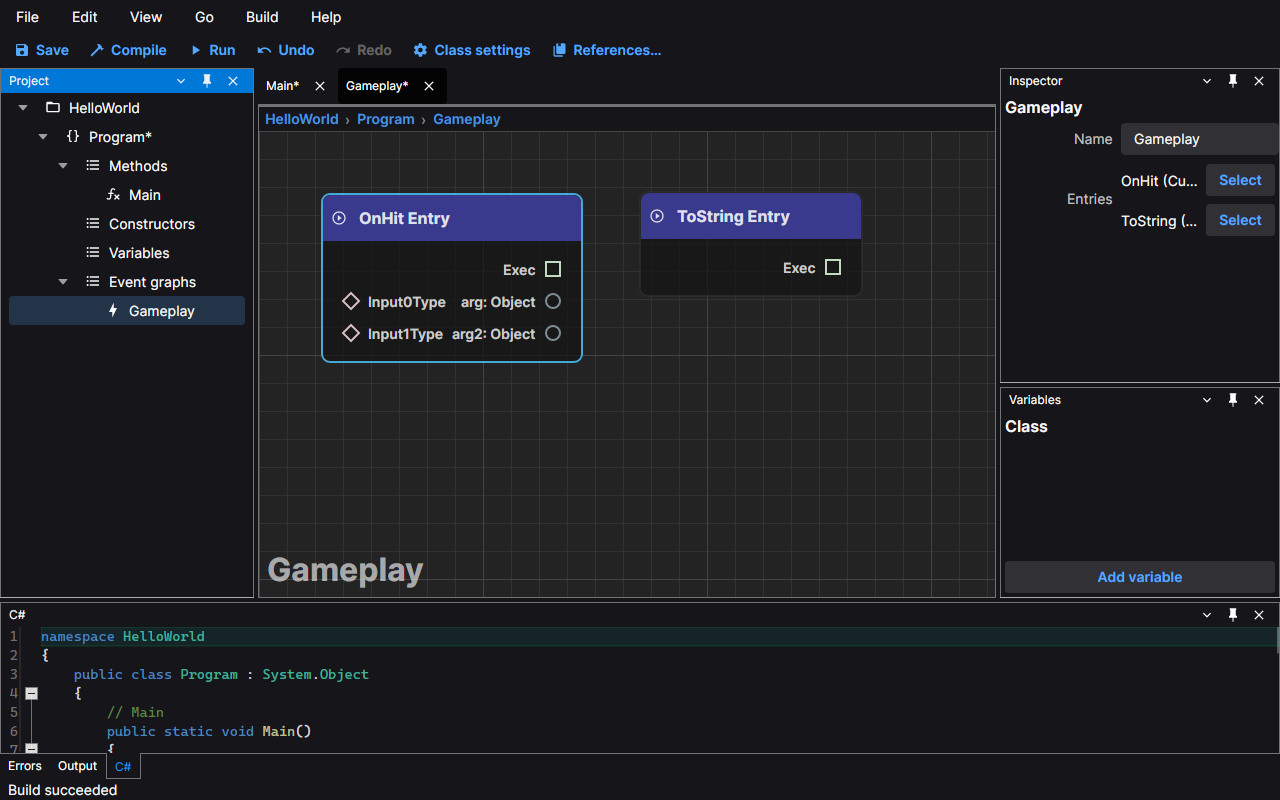
Select an event graph in the Project panel and the Inspector shows its name and an Entries list. Each line gives the
name of an entry, its kind and how many arguments it has, such as OnHit (Custom event, 2 arguments); the panel is
narrow, so a long line is cut short. The Select button beside a line selects that entry on the canvas and shows it in
the Inspector.
A custom event
Select the entry node of a custom event, or press Select for it in the list above, and the Inspector shows:
- Kind: Custom event.
- Name: the name of the generated method. Edit it and press Enter or Tab.
- Arguments: an Add argument button and one row for each argument.
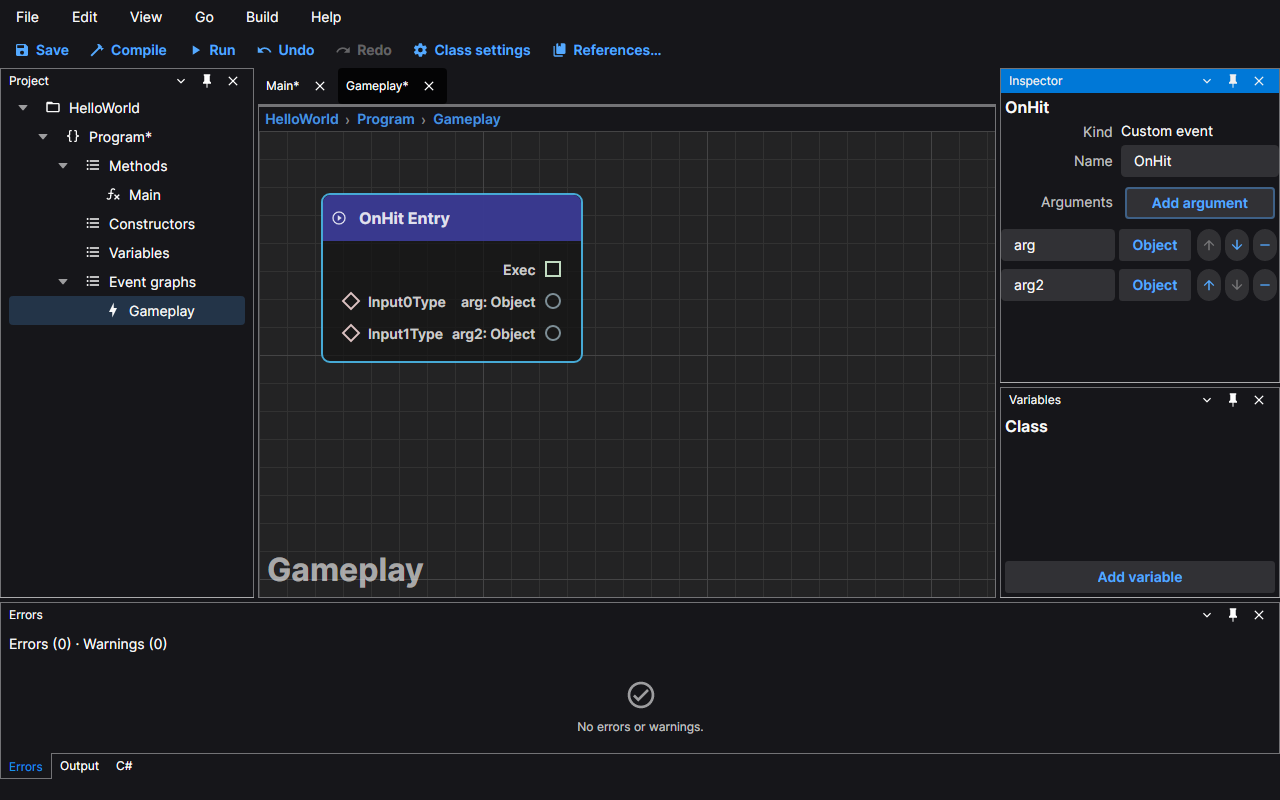
Add argument adds an argument called arg (then arg2 and so on) of type Object. In each row:
- the text box renames the argument;
- the type button opens the Select Type window, where you choose another type and press Select (Cancel or Esc closes it and keeps the current type);
- the arrow buttons move the argument up or down, and the minus button removes it.
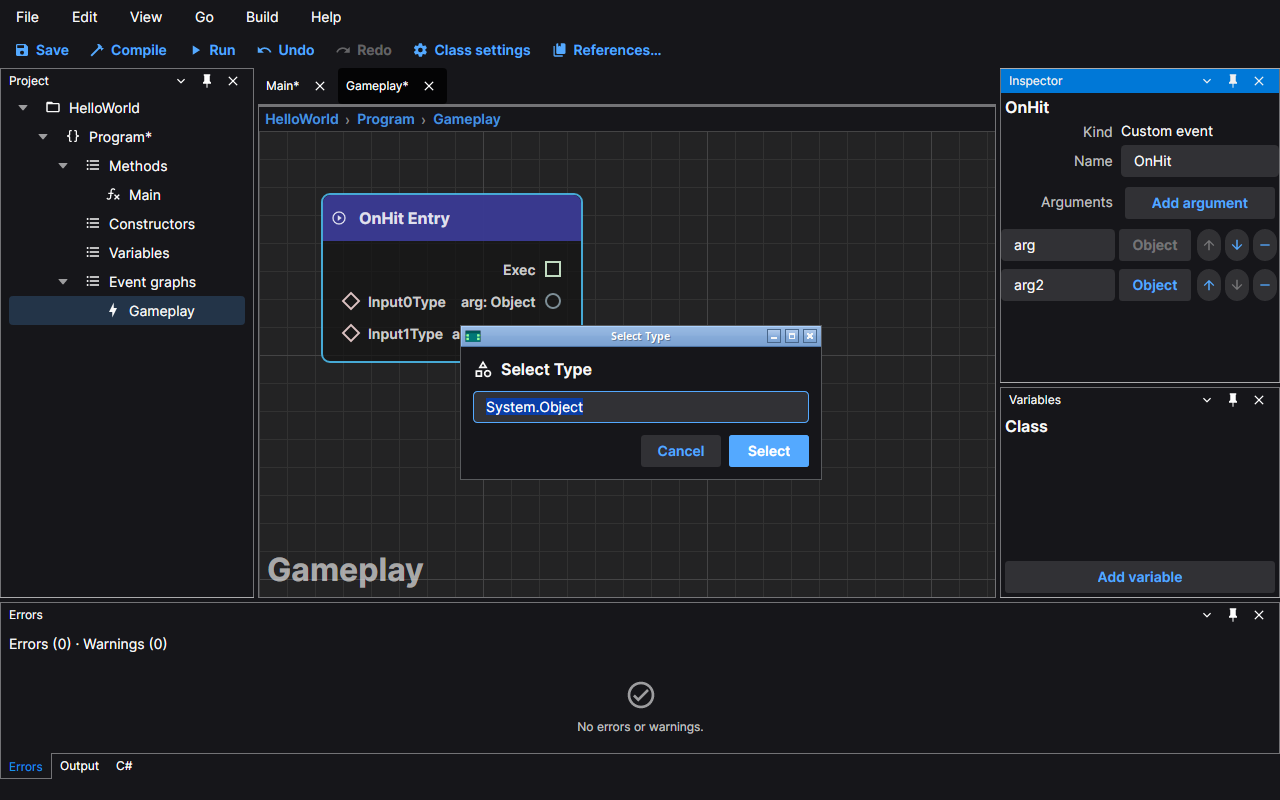
The entry node on the canvas gets a pin for each argument, and the generated method gets a parameter for it. Every change is one step of Undo, and calls to the event in other graphs follow the new name and arguments.
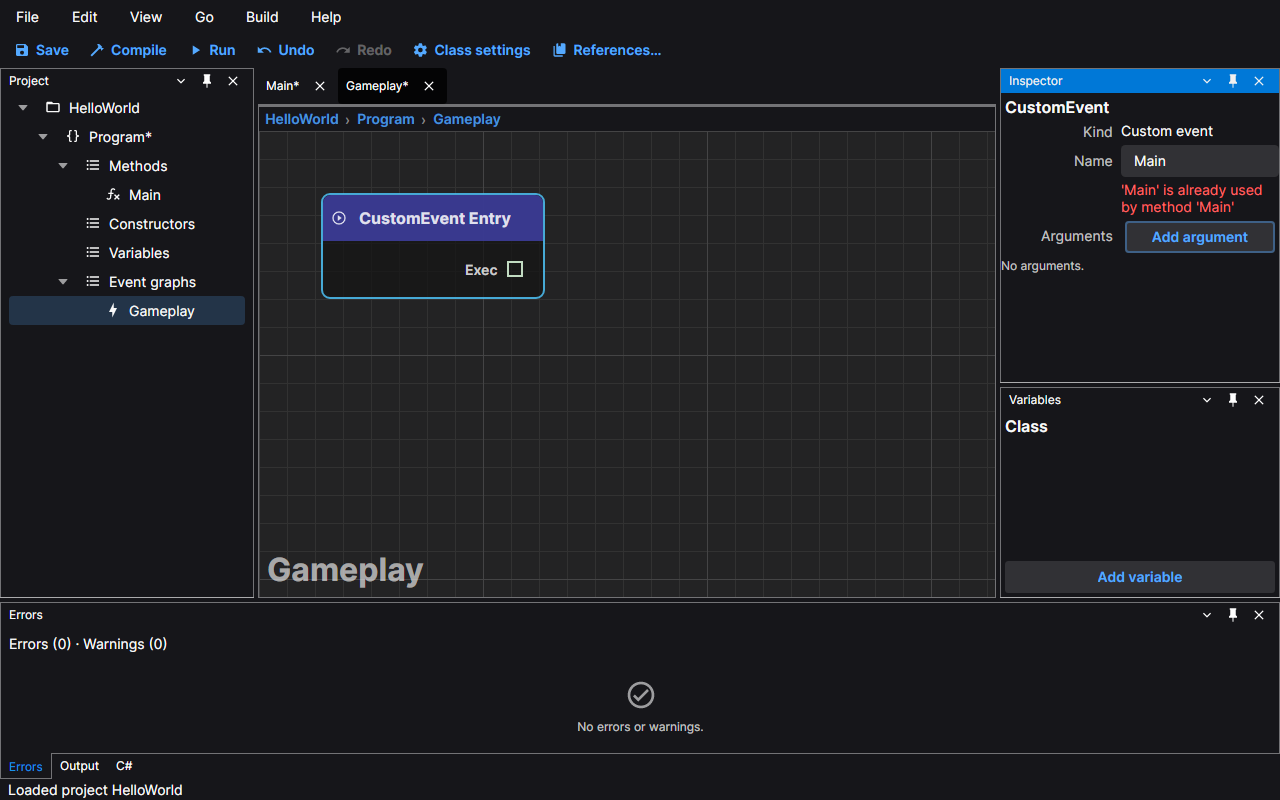
The name must be a valid C# identifier and must not be used by another method of the class or by another event. A name the editor refuses stays as it was, and a message under the box says why.
Overriding a method of the base class
An Override entry makes your class replace a method it inherits. Choose Override ToString (or another method) in the node search of an event graph, and the entry node appears with the method's name.
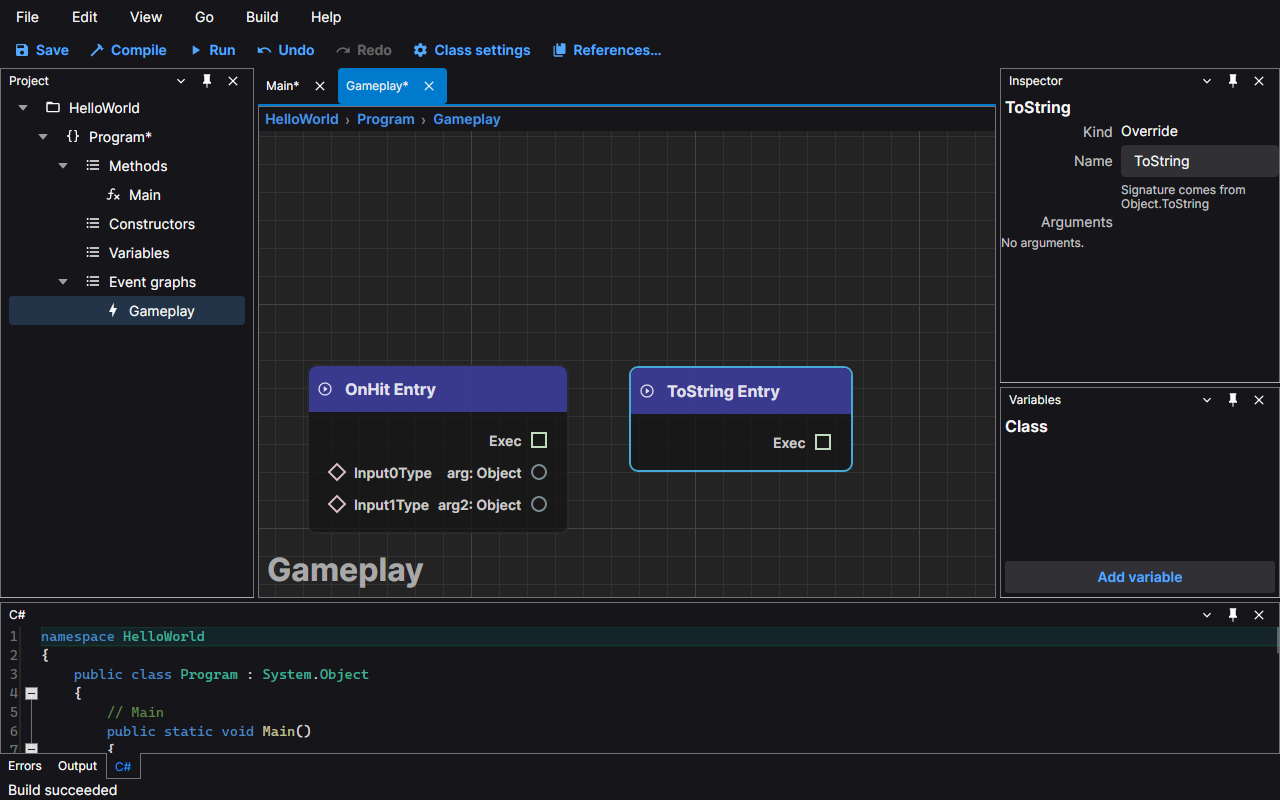
The kind is Override, and the name and the arguments come from the method in the base class, so they cannot be changed: the name box does not accept an edit, a note says where the signature comes from, and there is no Add argument button.
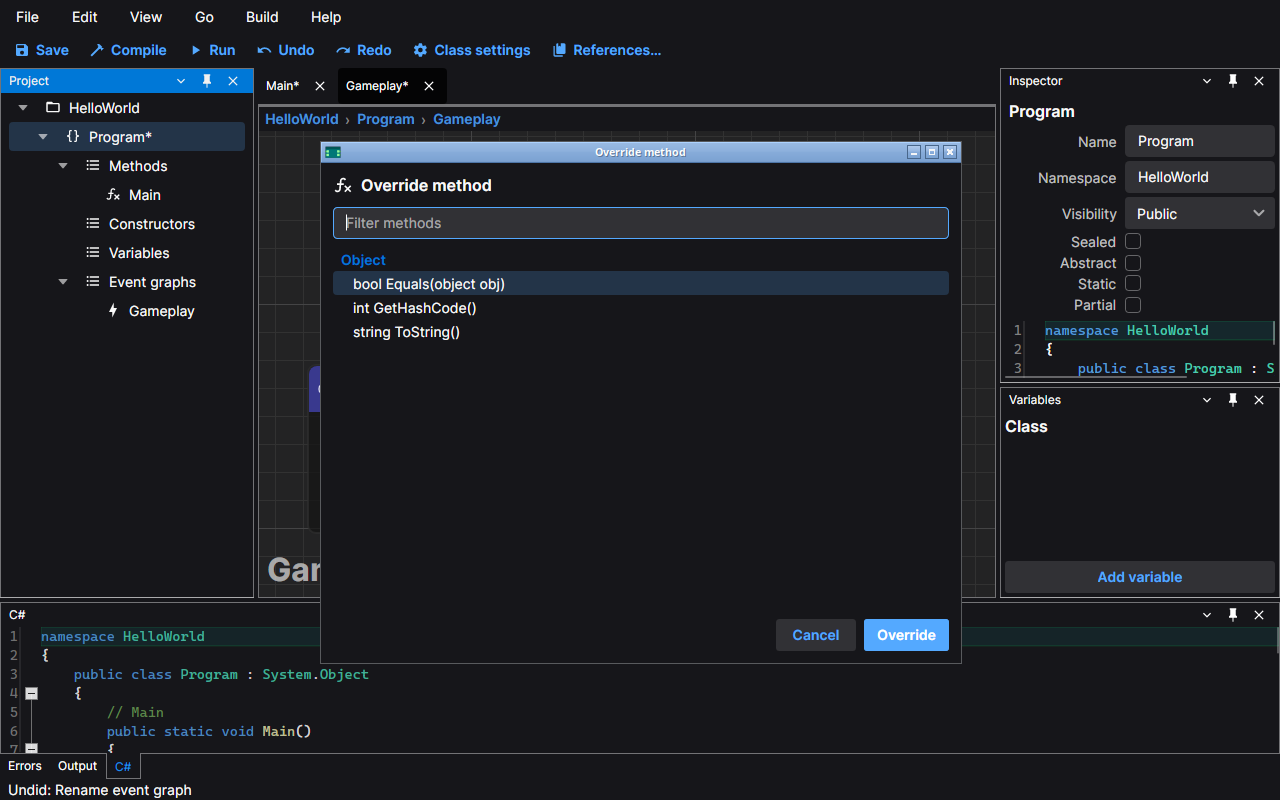
The other way to override a method is Edit › Override method…. It opens a window that lists the methods of the
base classes, for example string ToString(); type to filter the list and press Enter or Override. This one
adds the method to the class's Methods group and opens its graph. Methods that the class already overrides this way
are dimmed and cannot be chosen again.